


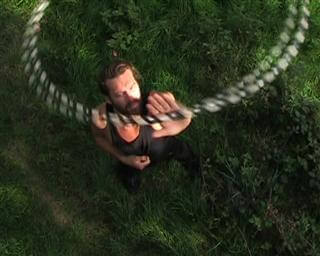
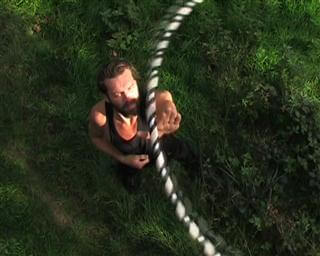
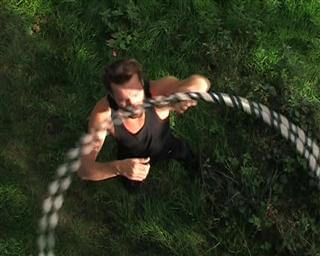
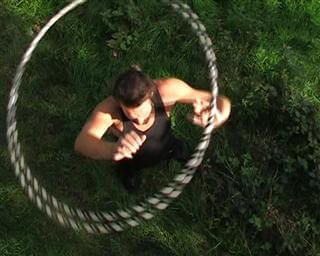
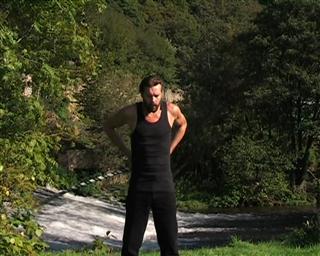
IV. Isolation, arm & leg Hooping
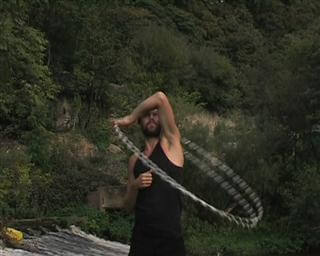
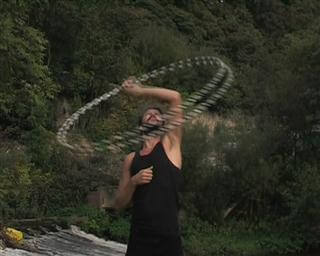
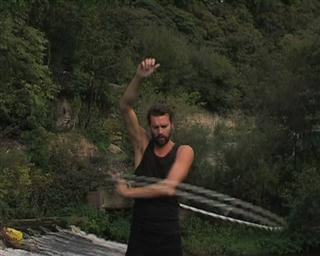
Arm Hooping
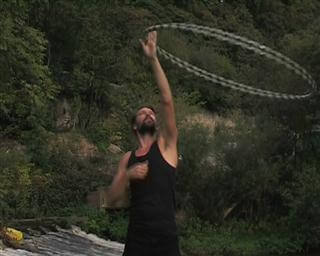
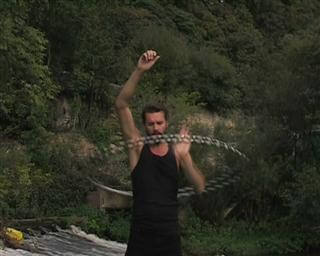
You can Hula Hoop on the vertical plane on your hand (on the side or front) or over your head in the horizontal plane.
Learning to Hula Hooping overhead may be fearsome for you, but if you have already learned it vertically, it is much easier. Later we will look more closely at the horizontal form of Hand Hooping. First, we deal with the simple learning of vertical circular movements with the hand.
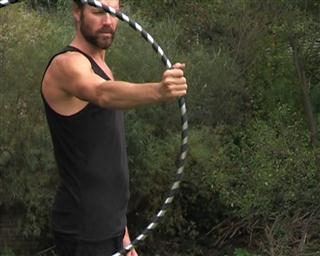
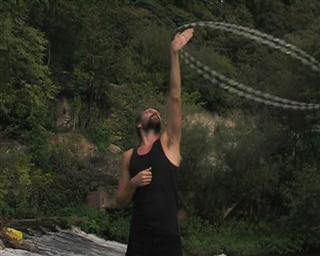
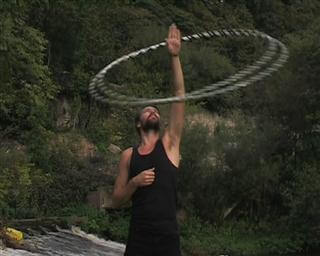
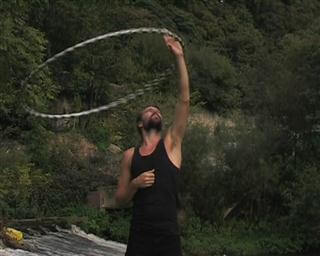
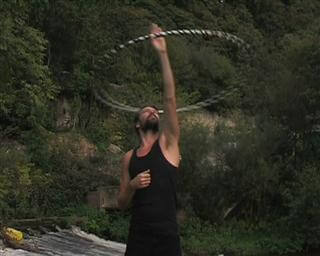
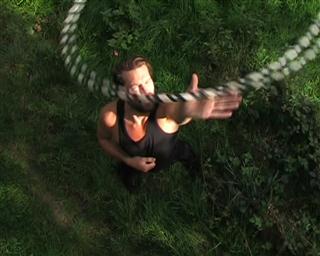
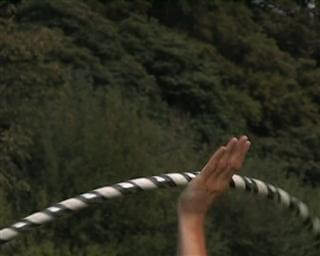
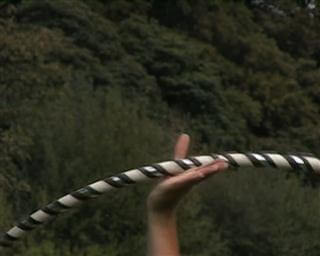
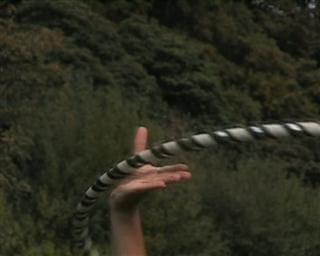
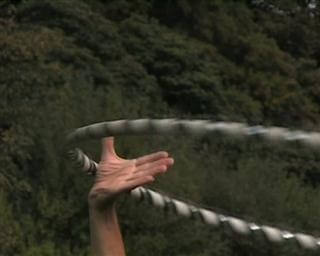
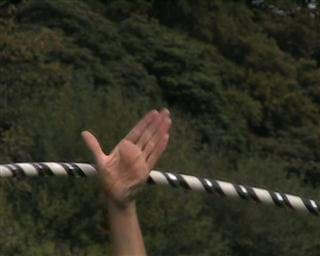
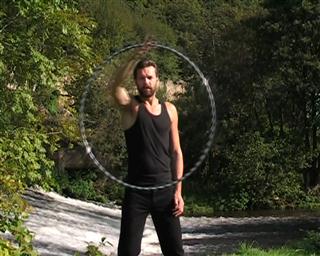
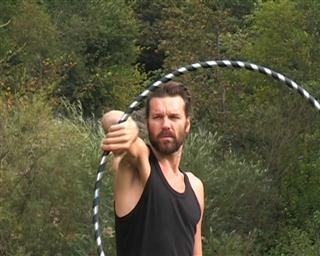
Take the Hula Hoop at the top with upward-pointing palm. Rotate it to the front to make it look as if you hold a bow. Keep the Hula Hoop more firmly and rotate it forwards. You should feel the weight of the Hoop because it pushes forward and down. Loosen the hand from the Hula Hoop and allow it to drop.

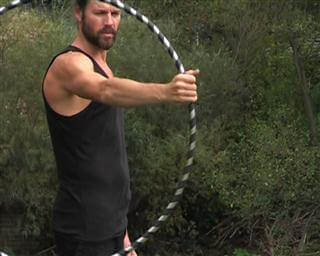
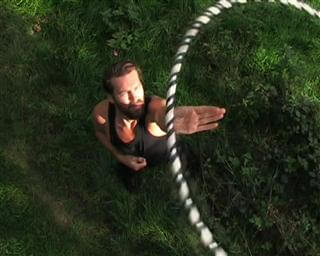
Once the Hoop falls forward, turn the back of your hand to the top. And now you show the way to the area between the thumb and forefinger of the Hula Hoop. Grasp the Hoop once it is back in the palm.
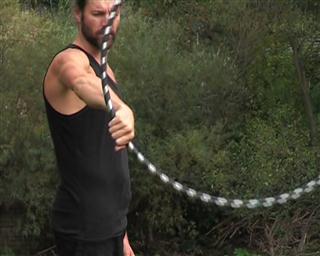
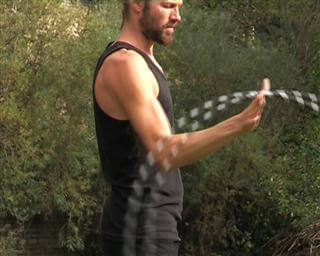
Now that you are back in the starting position, please repeat these movements. Repeat the procedures a few times and make sure that the Hoop moves between thumb and forefinger. Once this road is paved, you can reduce the times in which you hold the Hula Hoop. Reduce this time in each exercise cycle.
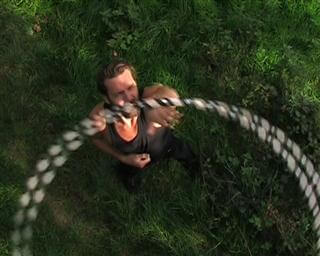
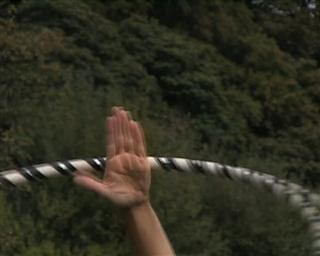
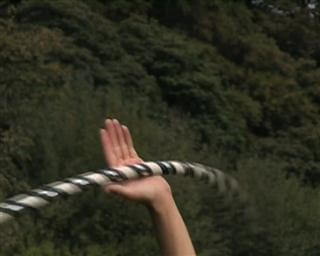
Allow the momentum of the Hoop to carry it forward. You should be able now to circle the Hula Hoop lapping at your hand. It may be that you feel this motion at the beginning as a little painful. It may also be that red bruises are visible on the back of the hand. You should be able to prevent this by letting slightly rotate your hand. The most power arises from the fact that the Hoop quasi migrates through the hand. Make sure that the soft part of your hand (between thumb and forefinger) is facing upwards. Thus, the force is dissipated and the back of the hand will not be wound.
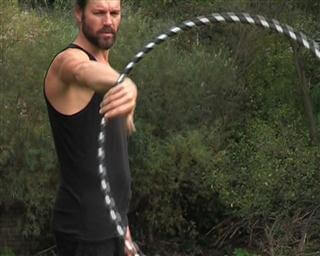
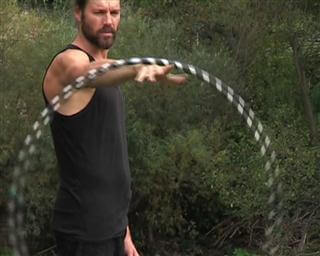
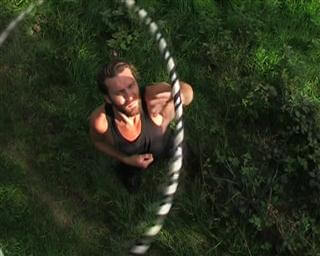
Hand positions for continuous rolling movements
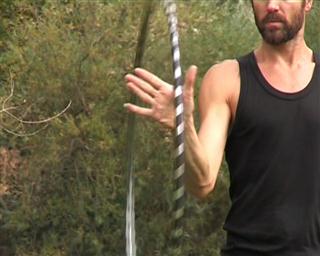
Your arm moves like a train, close to the body, in a circular movement. Make sure that the hand is not moved too far to the side.
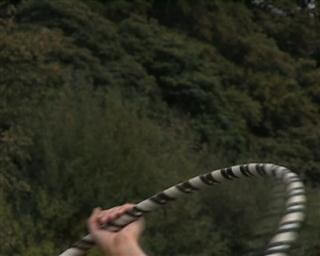
Lift Out Thumb Roll
Previously, you were not prompted to loosen your grip during the uplift. If you want to come from a lifting movement to a head on hand circular movement, then the horizontal thumb roll is a perfect transition movement.
This rolling thumb method works with any lifting movement. This thumb roll will now be demonstrated by means of raising the second arm. At the same time, hand movements are considered in more detail even upside down below. Both movements are to be considered together.
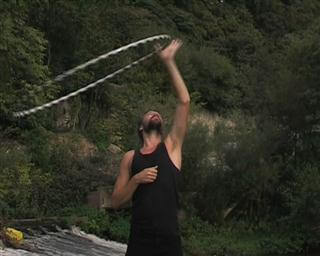
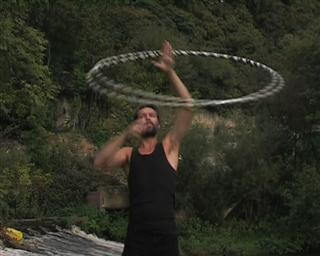
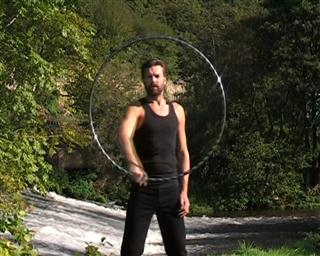
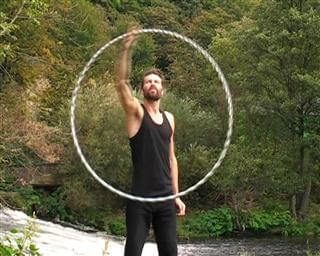
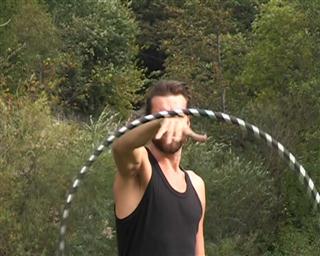
You start with the raising of the second arm. You can see two circular movements overhead
Once the Hula Hoop is over head, the handle is released and the thumb is pressed into the Hula Hoop.
The Hula Hoop is rolling now for half a turn on the thumb and then it moves back to the circular movement.
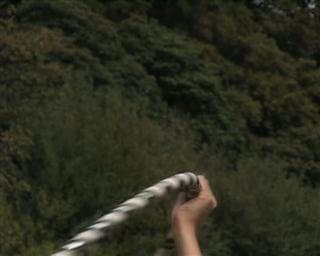
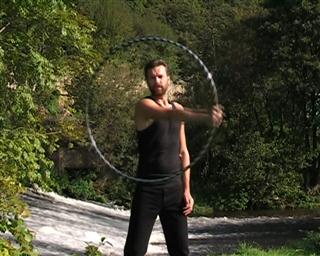
Run over the head of a full circular movement. Note the additional square which you can find in the front.
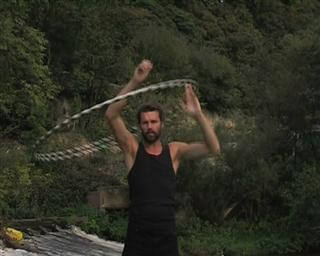

Bring arm 1 into the starting position to guide it through this place while arm 2 is moved downwards. The palm faces forward and you move arm 2 downwards and arm 1 upwards.

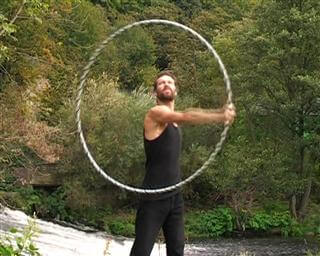
Slide it to the waist to throw it in.
And now please have a look at the points described from a different perspective:

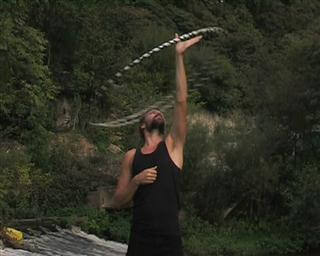
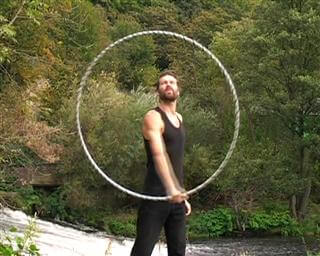
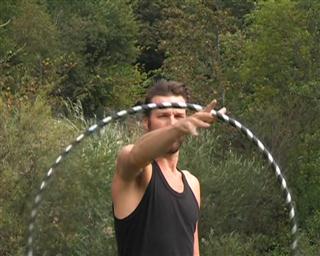
Here, circular movements over the head are shown.
Once the Hoop is over the head, the handle is released and the thumb is pressed against the Hoop. The Hula Hoop rolls now on the thumb for a half turn and then moves in a hand circle.
Perform overhead full hand circular movements. Look out for the space that results at the front. Through this space, you run arm 1 upwards and arm 2 downwards.
With the palm of the hand to the front, arm 2 is moved further downwards, arm 1upwards.
Press the Hula Hoop against the hip to throw in.
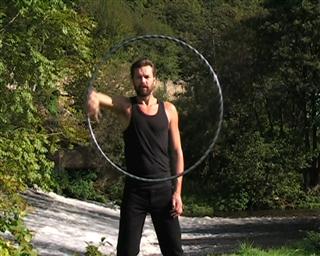
Now please take another look at the thumb roll transition:
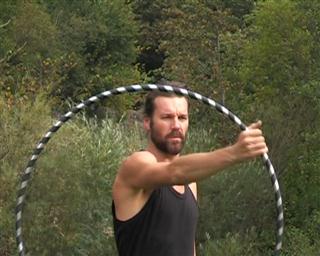
The starting point is the overhead circular movement. Once the Hoop is above the head, the handle is released and the thumb is pressed against the tire.
For a half rotation, the Hoop rests on the thumb. Then he moves into a hand circle.
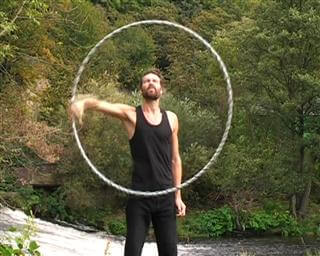
Once arrived here, you can get ready for throwing in. Proceed with circular hand movements or start with many other movements that can start from here.
Remember that you can use the throw in to move the Hoop from arm 2 with circular movements whenever you want back to the hip.
Another view from above on the last move:
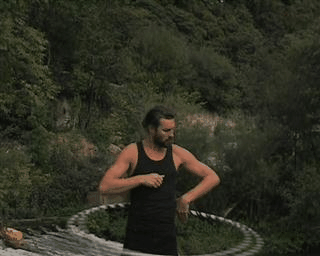
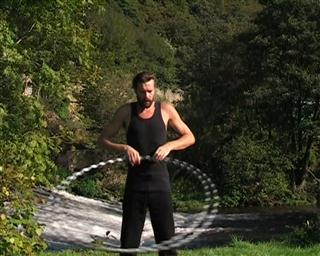
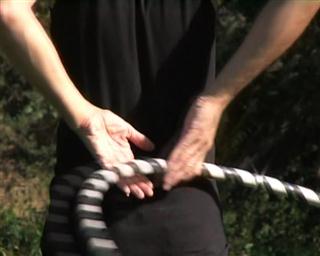
Circular movements outside the hip
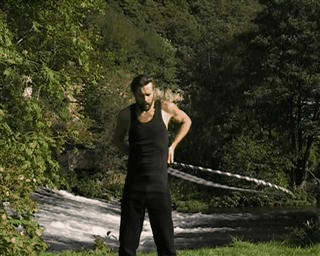
Circular movements outside the hip are quite simple: just take the Hoop around the waist from hand to hand. This exercise is not only very simple, but also quite useful. It plays a crucial role in the step ins/ outs, which we will see later. There is as well a transition movement that we want to take a closer look at on this page.
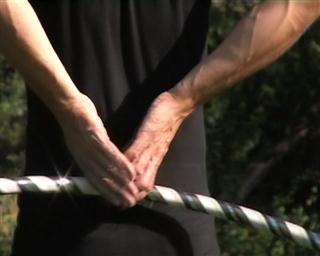
Below you can see how the circular movements function outside:
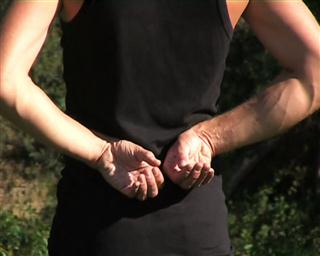
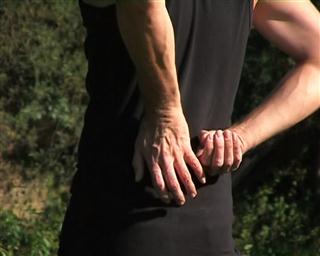
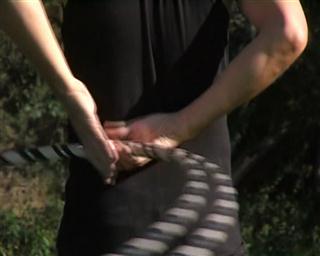
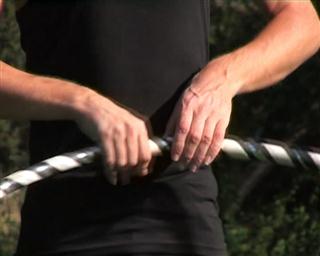
We begin with the handing over behind the back. The change of the hands is quite difficult. Normally hand 1 brings the inner surface of the Hoop up and hand 2 turns up. This time hand 2 must lead the inside of the Hoop down. Here you can see the difference between a normal back transfer and handover as we want to accomplish it now.
Take the Hula Hoop with the palm facing downward. Swing it around in the height of the hip and hold the hand closed.
Now run the Hoop in front of you, both palms are facing downward.
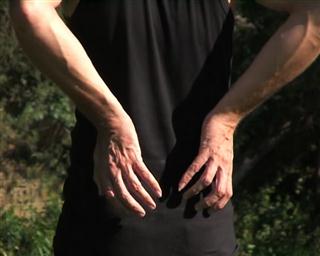
Arm 1 advances the Hoop around for passing it behind the back. For this type of transfer, both inner surfaces of the hands are directed downward. This may bring some pressure with it, but it is normally soon perceived as pleasant. On the picture you see the hand positions for the handover. You can continue or try to change the next time with outer circular movements.

You can change the exchange again and return to the overhead hand movements. If you repeat the movements, the position of the palms remains unchanged. When you switch from one to another movement, the palms show in different directions.
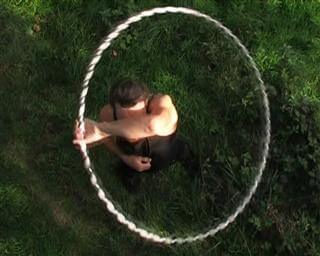
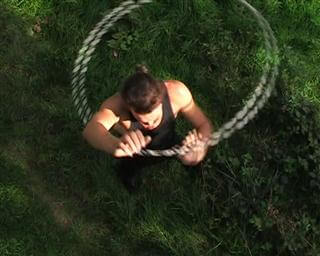
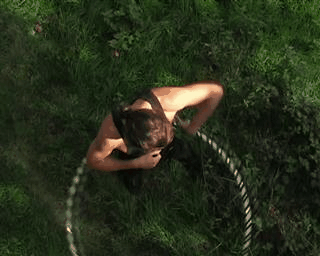
Isolation

Unter Isolations describe a type of movement in which the object in question stays in a position while the athlete moves around this object. Isolations are fairly difficult to control; they can yet exert a strong impression on the observer. They are also used in martial arts and unleash a similarly profound effect on the opponent. Isolations are most frequently seen in the field of contact juggling, when balls seem to flow in the air. The film Labyrinth shows David Bowie as well practicing contact juggling.
The hand that we see belongs to Michael Moschen, the father of modern contact juggling. He also has worked with Hula Hoop and was probably the first person who performed Isolations. Through his work, many people were impressed by the effect of Isolations, a lot of practice with different objects has happened since then.
Learning Isolations should be seen twice: On the one hand, the technique of the movements must be learned and on the other hand how the effect can be produced.
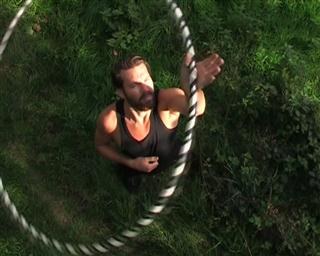
Below the Isolations are shown with two Hula Hoops in different sizes to see how the arm on the Hoop ensures changes.
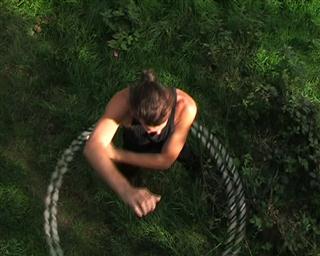
Keep the Hoop with the palm facing down. This is the bottom of the circle, it will define its position.
Notice how the arm draws a circle that has the same size as the Hula Hoop. Due to the different Hula Hoop size, the arm movements can be tracked
There are various ways for judging whether the Hoop rotates in his own "space". In the first picture, the tire is viewed by looking through its interior. In the second image, an upper point on the tire at a certain distance is fixed.
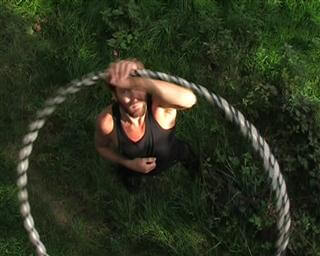
The Hula Hoop is taken between 3 and 9 o'clock. From 9 am to 3 o’clock, there is a hand roll which will be shown in more details. This is the bottom of the circle, defining its position.
You keep the Hula Hoop as long as it is convenient. By the time, you reach 9 o'clock; it is usually time to move in the hand roller position. Let the Hoop off and roll your hand under it while you still describe the circle.
The back of the hand rotates into the Hoop and moves away back then. It follows the same route as in the hand roller, but this time the Hoop stays where it is. You hand ensures the rollers under the Hoop. Then you will be able to grip the Hoop and continue drawing the circle.
It is very difficult to keep the circle at the first time, or even to say whether the circle is one or not. A good way for this training is to ask a friend to keep a Hula Hoop. Make sure that your circle does not differ from that of the Hoop. After a little practice, your arm will have stored the movements.
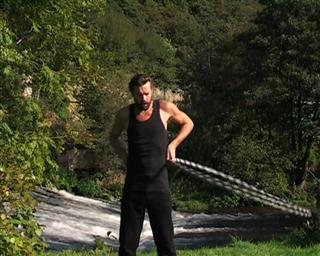
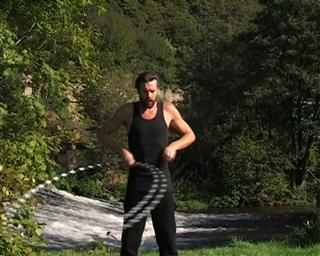
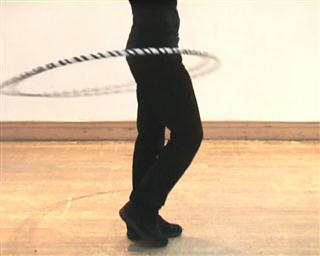
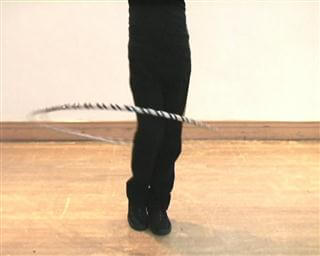
Leg Hooping. Elvis Move
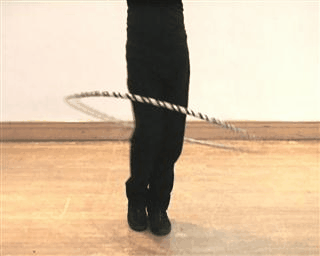
Start with the Base Hooping. Moving the Hula Hoop from the waist down to the knees should be fairly easy. Some people think they can do so immediately. For others, it is quite tricky.
There are a total of two different methods to move the Hula Hoop into the height of the knees. The first is to catch the Hoop with the knee and then to move back and forth to give the necessary power to the Hoop. It is even better to make a very subtle circular movements and to slightly bend the knees.
The second method is to move the Hoop with one leg in motion, similar to the Elvis move. This may look less elegant, but it brings you in a position to move upwards the Hoop again from the knees. Moving the Hula Hoop from the knees back up is an art that many never learn simply because they don’t know or can’t apply the right technique.
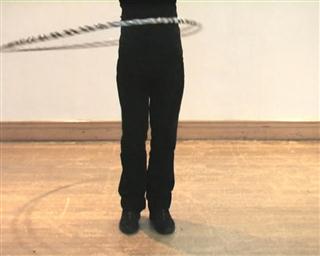
Start with the Hula Hoop on your waist. You must manage to take momentum from the Hoop so that it loses its power and slides down. Therefore, you must stop using the circular movements of the hip and begin to make a circular movement with one leg. This could be a problem, because most likely it will not be your dominant leg.
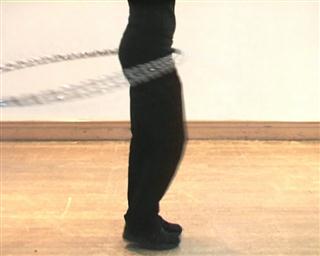
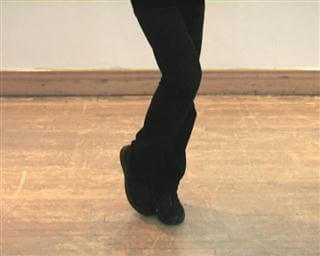
To start a circular movement with one leg, the foot is pulled backwards.
The toes are placed in a row with the instep of the other foot.
The feet are kept together. This brings the feet upwards. It also ensures that a knee is slightly higher than the other.
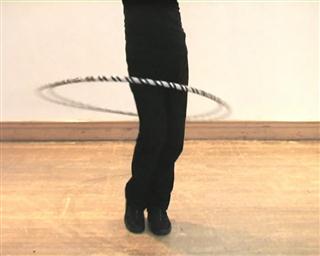
Now you begin to make circular movements with the knee.
When you first try, you will probably have to choose the double speed compared to swinging your hips.
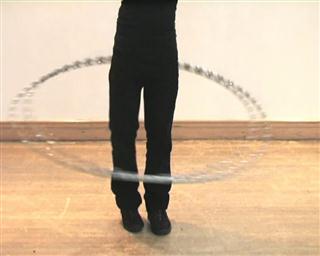
The Hula Hoop will now fall down from the waist and that hopefully into the new movement.
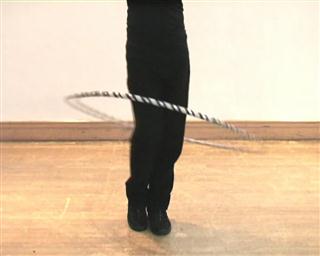
Now the Hula Hoop is worn on the raised knee. Momentum is ensured every time when the Hoop is guided past the front.
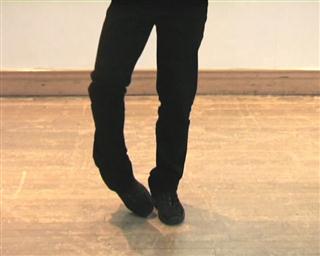
Here you can see how the knee crosses the front and leads to the side.
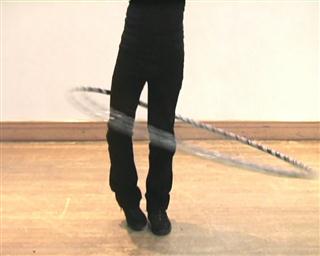
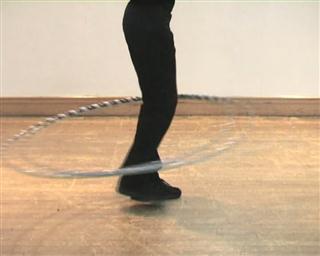
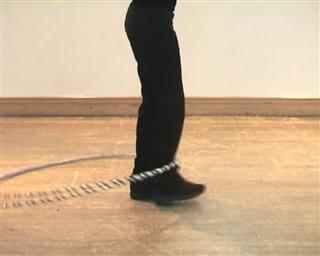
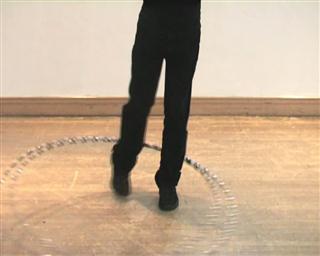
Foot Hooping
It is very easy to move the Hoop from the knee down to the foot. Just replace the circling knee movements with circular foot movements and the Hoop falls down.
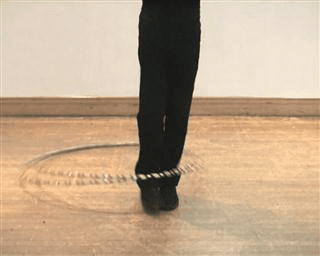
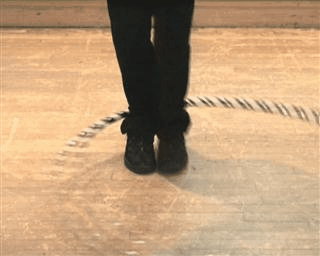
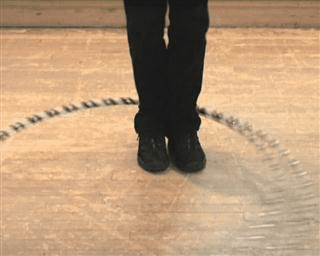
Start with the Hula Hoop at the knee. The foot of the leg 1 is lifted from the ground.
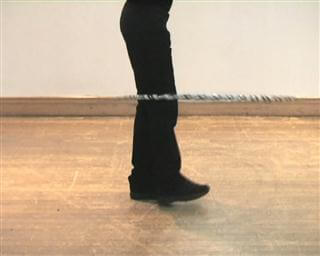
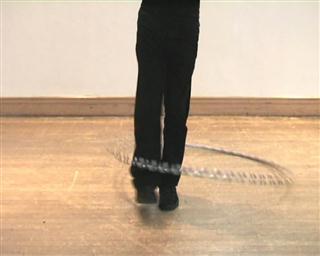
With a straight leg, circular movements are performed externally. First, you rotate forward.
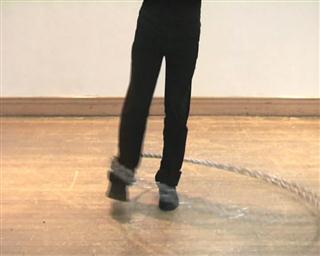
to the outside…
…and bac
If you practice this for the first time, it is helpful to make larger circular movements and to wear the Hoop virtually on your feet around. This can be useful if you do this exercise on grass or wherever much friction occurs. Once you feel more comfortable and secure, you can make smaller circular movements (until it feels as if you merely move back and forth).