


ON / OFF
Switch the LED controller on or off.
This page documents the basic operation of the discontinued Hoopomania LED Hula Hoop PRO II. It is intended for existing owners of this exact model with the 14-button remote control shown below.
Use this guide only if the hoop and remote control clearly match the illustrations. A different button layout, charging port, switch or accessory may indicate a different version.
The images below document the remote control supplied with the archived model. Point it towards the receiver on the hoop. Available functions may vary between controller versions originally supplied.
Switch the LED controller on or off.

Move to the next stored lighting mode.

Move to the previous stored lighting mode.

Increase the movement or change speed of the active effect.

Reduce the movement or change speed of the active effect.

Open the automatic or settings function of the original controller.

Add a custom setting if supported by the controller.
Delete a stored custom setting.
Move forwards within a custom setting.
Move backwards within a custom setting.

Select white light directly.

Select red light directly.

Select green light directly.

Select blue light directly.
Switch on the LED controller and move through the available modes with MODE + or MODE −. For supported effects, SPEED + and SPEED − adjust the change speed.
Use the white, red, green and blue buttons to select a colour directly. If the hoop reacts differently, do not force unfamiliar button combinations.
The DIY buttons belong to the original controller function for custom settings. Because several production versions may exist, use only functions that your device performs clearly and consistently.
Use only the clearly identifiable, technically compatible original accessories supplied for this model. These archived photos show the former USB measuring accessory solely for identification. The displayed readings are snapshots and are not general charging, battery or limit recommendations.
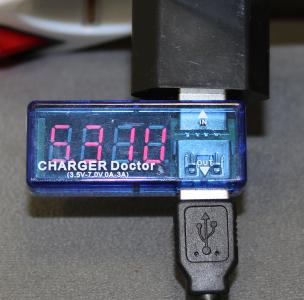
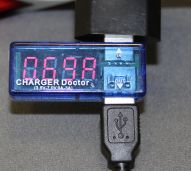
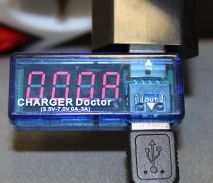
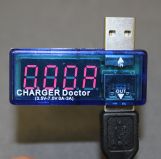
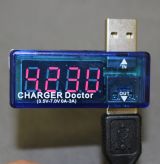
If the charger, cable, connection or device marking is missing or does not clearly match, do not charge the hoop. Stop using it immediately if it becomes very hot, smells unusual, has housing damage or shows any change to the battery casing.
No. The model is no longer sold. This archive page remains available as an operating guide for existing owners.
No. They apply only to the illustrated Hoopomania LED Hula Hoop PRO II with the matching 14-button remote control. Other models may be designed and operated differently.
Use only the clearly identifiable, technically compatible original accessory supplied for this model. This archive page does not approve any other charger. Do not charge the hoop if markings are missing or you are unsure.
Switch the hoop off and do not use or charge it again. This applies particularly to a damaged cable, housing damage, excessive heat, an unusual smell or any change to the battery casing.
Archive version: July 2026.